

I found out how fast a full mug of coffee can soak through a mattress on an ordinary morning, half awake, reaching for my phone instead of the nightstand. The mug tipped, the coffee went straight down through the sheet, and for about ten seconds I just stood there doing the math on how expensive a new mattress was going to be. It wasn't expensive at all. Two years earlier I'd put a Linenspa waterproof mattress protector on that bed, mostly out of habit, and the coffee never touched the foam underneath. I stripped the protector, rinsed it in the sink, and was back in bed twenty minutes later with a dry mattress and one ruined pillowcase.
That morning is the whole reason I'm writing this. A mattress protector only does its job if it fits correctly, and a spill only stays contained if you handle it in the first few minutes instead of walking off to hunt for a towel. Since then I've fitted protectors on a few different mattresses around our home, ruined one dryer cycle by ignoring the care label, and figured out exactly what belongs in a response kit versus what's just clutter on the nightstand. Here's the process I actually use, split into two halves that matter equally: getting the protector on right in the first place, and knowing what to do in the ten minutes after something has already hit the bed.
The Ten Seconds Between a Spill and a Ruined Mattress
A protector that fits right and actually locks liquid out beats any towel you'll grab after the fact. The Linenspa waterproof mattress protector is the one on our bed, machine washable, and built for exactly the kind of spill that started this whole guide.
Amazon Check Today's Price on Amazon →Step 1: Measure Your Mattress Depth Before You Buy Anything
Every protector is cut with a skirt depth range, usually somewhere between six and eighteen inches, and if you guess instead of measure you end up with corners that pop off in the middle of the night. Measure straight down from the top of the mattress to the floor of the deck, not the box spring, with a tape measure held flush against the side. Write the number down before you shop.
I learned this the hard way after buying a protector sized for a nine inch profile and finding out our actual mattress runs closer to thirteen inches once you factor in the pillow top. The elastic skirt stretched to fit but sat at an angle constantly, which meant one corner was always working itself loose by morning. The protector I switched to afterward is rated for depths up to around fourteen inches, fits ours without a fight, and the skirt does not creep.
If you're between two sizes, size up. A slightly loose skirt with a good elastic hem still holds fine. A skirt that's too shallow will fight you every single night, and you'll end up re-tucking a corner at least once a week for as long as you own it.
Step 2: Wash It First and Fit the Corners Properly
A new protector should go through one wash and dry cycle before it ever touches the mattress. This softens the fabric so it drapes instead of standing stiff at the corners, and it lets you check the true fit once the fabric has relaxed a bit from being folded for shipping.
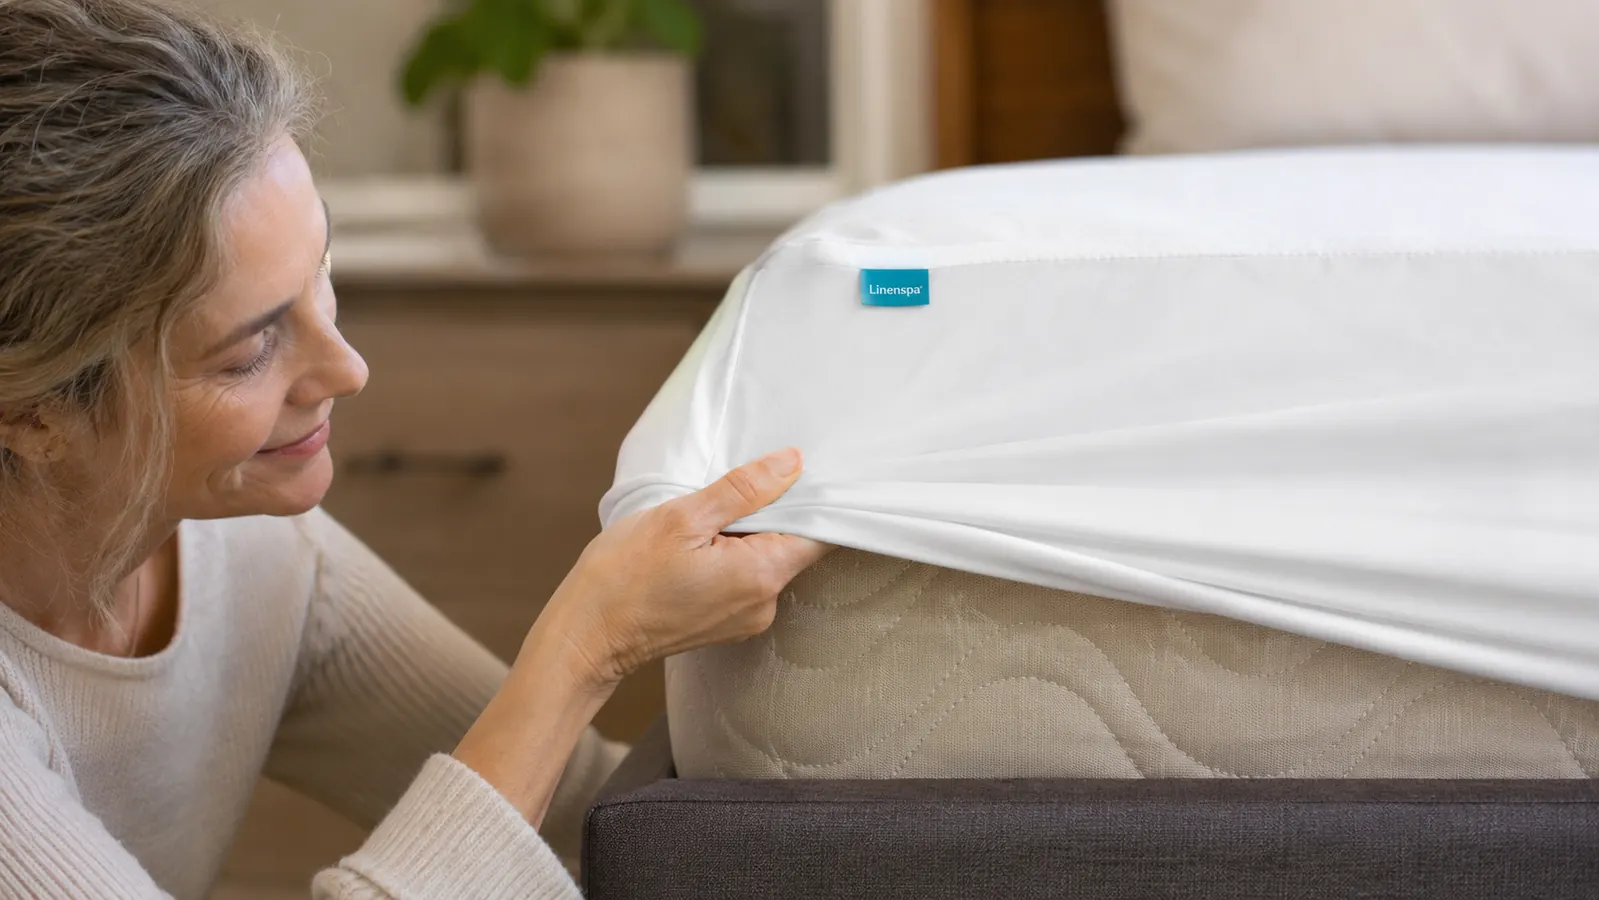
Fitting it is the same motion as putting on a fitted sheet, but do all four corners before you tuck the sides down anywhere. Start at one corner, pull the elastic fully over the edge of the mattress, then move to the diagonal corner and repeat. If you tuck the sides in before all four corners are seated, you end up stretching one corner thin trying to compensate, and that's usually the corner that pops loose first.
Smooth the top flat with your hand once it's on. Any wrinkle or fold under the fitted layer becomes a pressure point you'll feel while lying down, and it also creates a gap where liquid can pool instead of running off toward an already covered section. Sleep on it for one night and check the corners again in the morning. A protector that's genuinely sized right stays seated after a full night of normal tossing and turning, no adjustment needed.
Step 3: Know the Difference Between Water Resistant and Waterproof
These two words get used almost interchangeably on packaging, and they are not the same thing. Water resistant fabric slows a spill down and buys you a little time to blot it up. Waterproof fabric, usually a polyurethane laminate bonded to the top layer, stops liquid from passing through at all as long as the seams are intact.
A protector labeled waterproof is doing a completely different job than a quilted pad that's only water resistant. A pad might handle a light splash of water. It will not stop a full glass of something or a coffee spill from reaching the mattress underneath. I keep a genuinely waterproof protector on every bed in the house for exactly this reason. The Linenspa protector uses that laminate backed construction, and in about two years of daily use I have not had a single spill make it through to the mattress, including the coffee incident that started this guide.
Check the product description for the actual word waterproof, not just softer phrasing like 'protects against spills,' which doesn't guarantee full protection. I went into more detail on how ours has actually held up in an honest review of the Linenspa protector after months of regular use, including the one seam I keep an eye on.
Step 4: Build a Simple Spill Response Kit and Keep It Within Reach
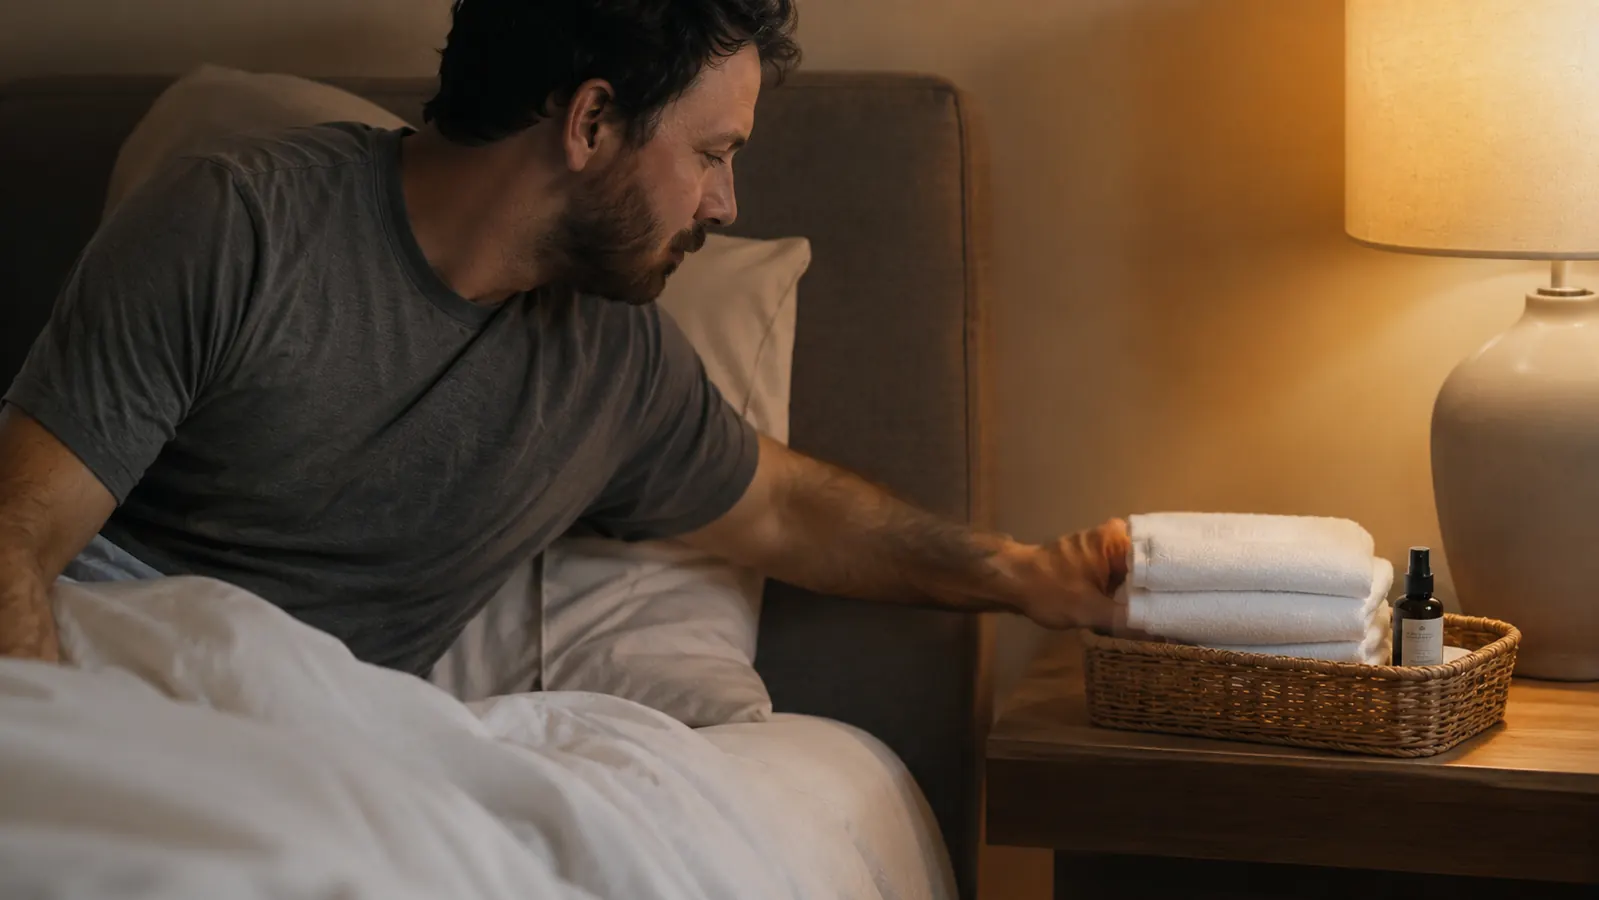
The single biggest factor in whether a spill actually stays on the surface is how fast you respond, and you can't respond fast if you're hunting through a linen closet at two in the morning. Keep a small kit on or near the nightstand: two or three plain white cotton towels, a spray bottle of plain water, and a little mild dish soap for anything beyond water.
Skip scented sprays and heavy duty stain removers for the kit itself. Many of them contain solvents that can degrade the waterproof backing on a protector with repeated use, and you rarely need anything stronger than water and a touch of soap if you get to the spill within the first few minutes.
I keep ours in a small basket right on the nightstand, not in a bathroom down the hall. The two seconds it takes to reach for something already sitting there is the difference between a spill that stays on top of the protector and one that starts working its way toward the seams. Restock the towels the same day you use them, too. A response kit with one damp, used towel left in it isn't much of a kit the next time you actually need it.
Step 5: Blot, Don't Rub, in Those First Ten Minutes
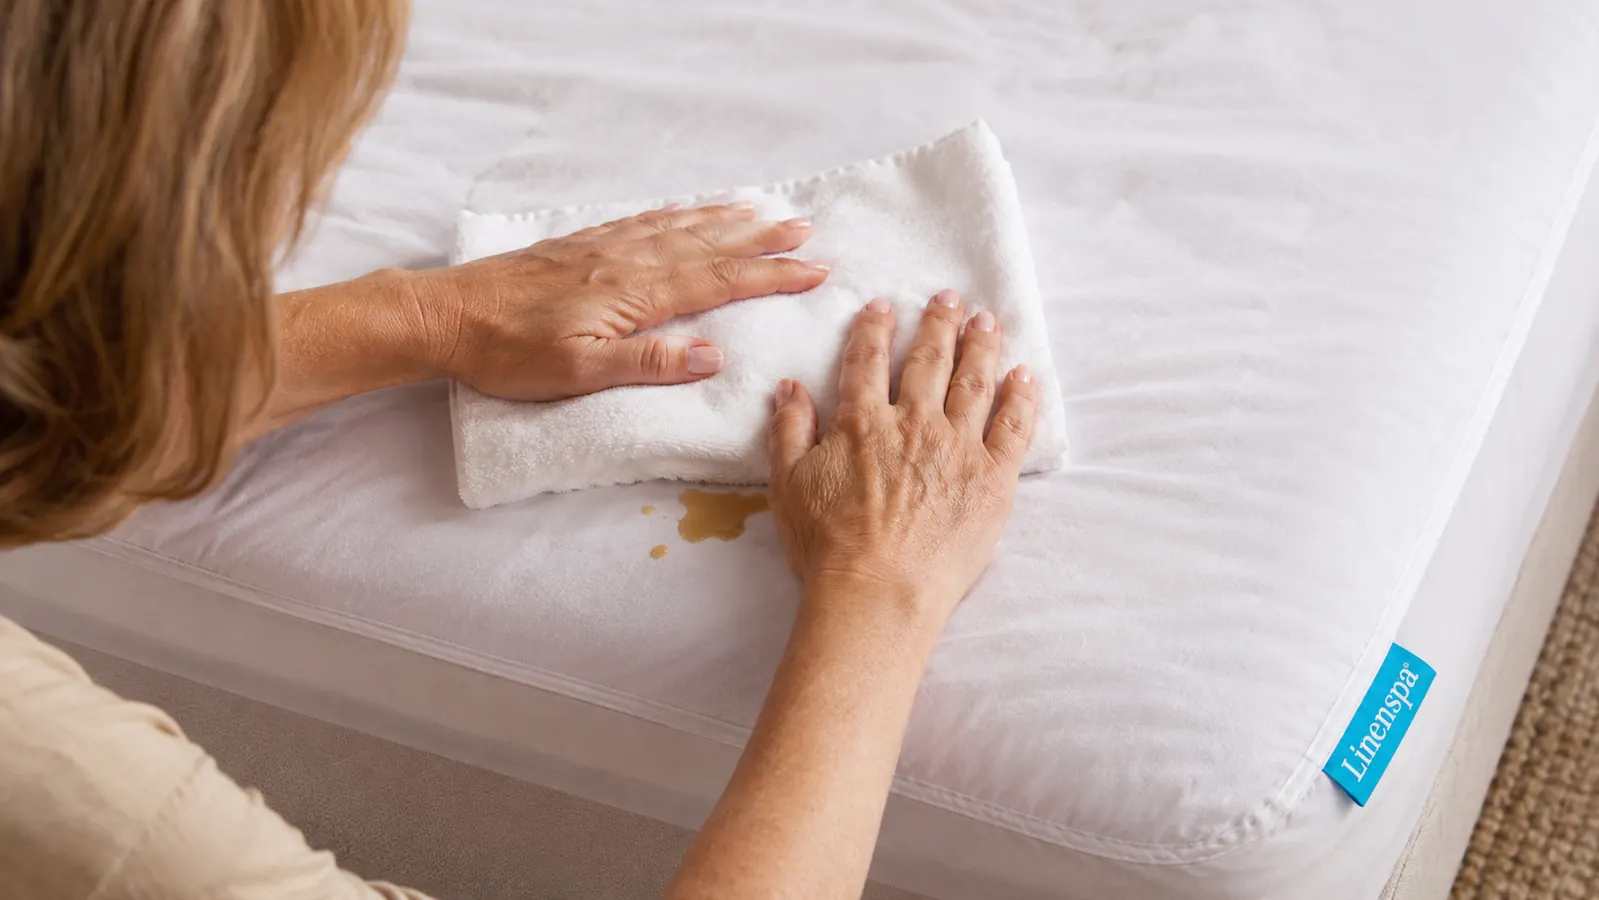
The instinct when something spills is to scrub at it, and that's the wrong move. Rubbing pushes liquid sideways and works it into the fabric weave, and toward the seams, faster than it would travel on its own. Press a folded towel straight down onto the spill and hold it there for several seconds, then move to a dry section of the towel and repeat.
Work from the outer edge of the spill inward. This keeps you from spreading it wider across the surface. For anything beyond plain water, a light mist of water mixed with a drop of dish soap applied to the towel, not directly onto the protector, is usually enough to lift it before it sets.
If the protector is doing its job, none of this reaches the mattress at all. But the blotting still matters, because a spill left sitting on top of even a genuinely waterproof surface for hours can work its way into the seam stitching over time, and that's true even for a well made piece like the Linenspa protector.
Step 6: Strip It, Wash It on the Right Cycle, and Dry It Fully Before It Goes Back On
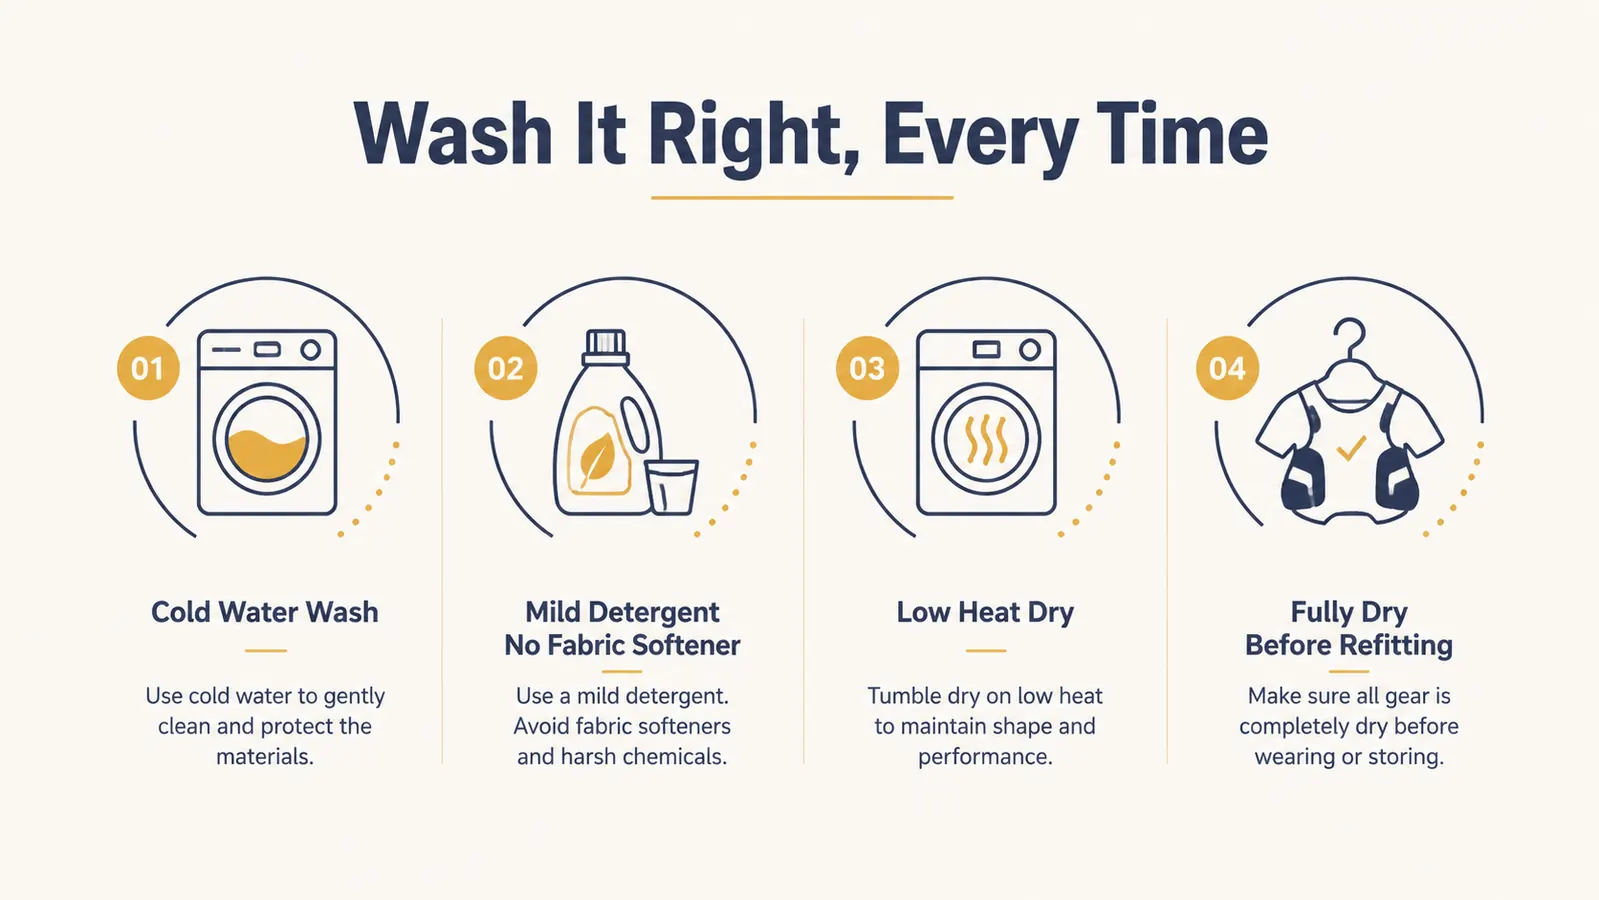
Once you've blotted up what you can, pull the protector off and wash it in cold or warm water, never hot. Heat is what breaks down the polyurethane laminate backing that makes the protector waterproof in the first place, and a handful of hot water washes is often enough to leave a protector that still looks fine but no longer actually stops liquid.
Use a mild detergent and skip fabric softener, which coats fibers and can interfere with how the waterproof layer breathes. The Linenspa protector we use is machine washable and dryer safe according to its own label, but I still dry it on low heat rather than the higher setting my dryer defaults to, for the same reason I avoid hot water in the wash.
Let it finish a full dry cycle before putting it back on the bed. A protector that goes back on damp traps moisture against the mattress instead of keeping it out, which defeats the entire point and can lead to a musty smell that's a lot harder to deal with than the original spill ever was.
What Else Helps: When the Mattress Itself Needs Attention
Sometimes the damage happened before a protector went on, or a spill got past a seam on an older protector before anyone noticed the backing had started to fail. In that case, no amount of blotting the top layer helps, because the moisture is already in the mattress foam or padding. For a fresh stain on bare mattress fabric, the same blot don't rub rule applies, followed by a light application of enzyme cleaner for anything organic and a fan or open window to speed up drying. Mattresses take a long time to dry fully from the inside, and one that goes back under sheets while still damp underneath is an invitation for mildew.
This is also where most manufacturer warranties come into play, rarely in the customer's favor. Read the fine print on a mattress warranty and you'll usually find language that voids coverage on a stained mattress, regardless of how the stain happened. That's the practical argument for a protector beyond just keeping things clean: it's often the only thing standing between a spill and a warranty that no longer applies. If you're still deciding whether it's worth adding one to your own bed, I laid out ten reasons a mattress protector earns its keep that go well beyond just spills.
One more thing worth checking every so often is the protector itself, not just the mattress underneath it. A waterproof layer that's been through a couple of years of weekly washing can start to lose its backing quietly, with no visible sign until the day it actually fails. If yours is older than a couple of years, or it's been through more than a handful of hot washes despite the label's instructions, treat that as a sign it's due for replacement rather than waiting for proof in the form of a stain that finally gets through.
A mattress protector isn't a suggestion. It's the difference between a five minute cleanup and a mattress you have to replace.
Put the Protection on Before You Need It, Not After
Every step in this guide assumes there's a waterproof layer on the mattress to begin with. If yours is still bare, that's the one gap worth closing first, and it's the same protector I've relied on for two years of ordinary, occasionally clumsy mornings.
Amazon Check Today's Price on Amazon →