
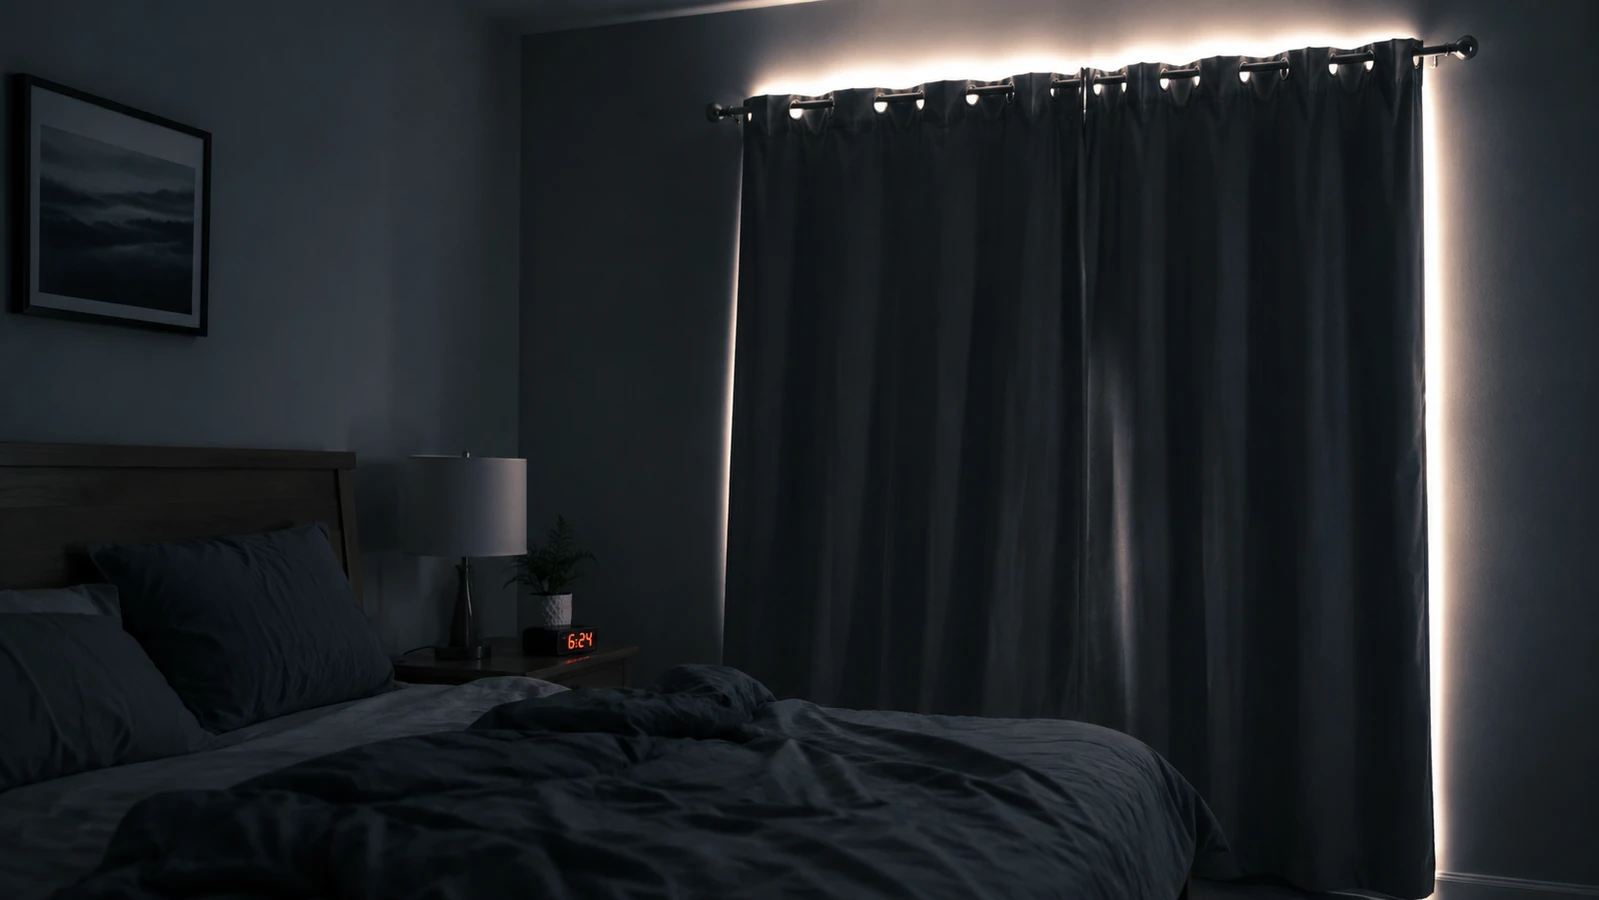
The first time I hung blackout curtains, I was so sure the problem was solved that I didn't check the room again until early the next morning, when a hard bright line was sitting across the ceiling like someone had left a flashlight pointed at the wall. Nothing about the curtains themselves was wrong. NICETOWN's grommet panels are heavy, tightly woven, genuinely dark fabric. The room around them just hadn't been set up to keep light out, and I hadn't done a single thing to close that gap.
If you're standing in a room and light is still finding its way in around a set of blackout curtains, the fabric is almost never the actual problem. The problem is everything around the fabric, the rod, the width, the small gaps at the top and sides that no curtain, however dense, can close on its own. This is the process I actually use now, window by window, to get a room dark enough to sleep in whenever sleep needs to happen, whether that's ten at night or two in the afternoon.
Before you touch a tape measure, know what you're working with.
This whole guide assumes a curtain that's actually built to block light in the first place. The NICETOWN thermal insulated panels are the ones I used to figure this process out. Check today's price before you start measuring.
Amazon Check Today's Price on Amazon →Step 1: Find Where the Light Is Actually Getting In
Before you buy anything, spend one session actually watching the room at the hour that matters. If you sleep at night, that means sitting in the dark after sunset with the lights off and letting your eyes adjust for a few minutes. If you're trying to sleep during the day after a long or overnight shift, do this test at the actual hour you'll be lying down, not in the evening when the light in the room is different. Note every place light shows up, a strip along the ceiling, a glow down one side, a line along the floor.
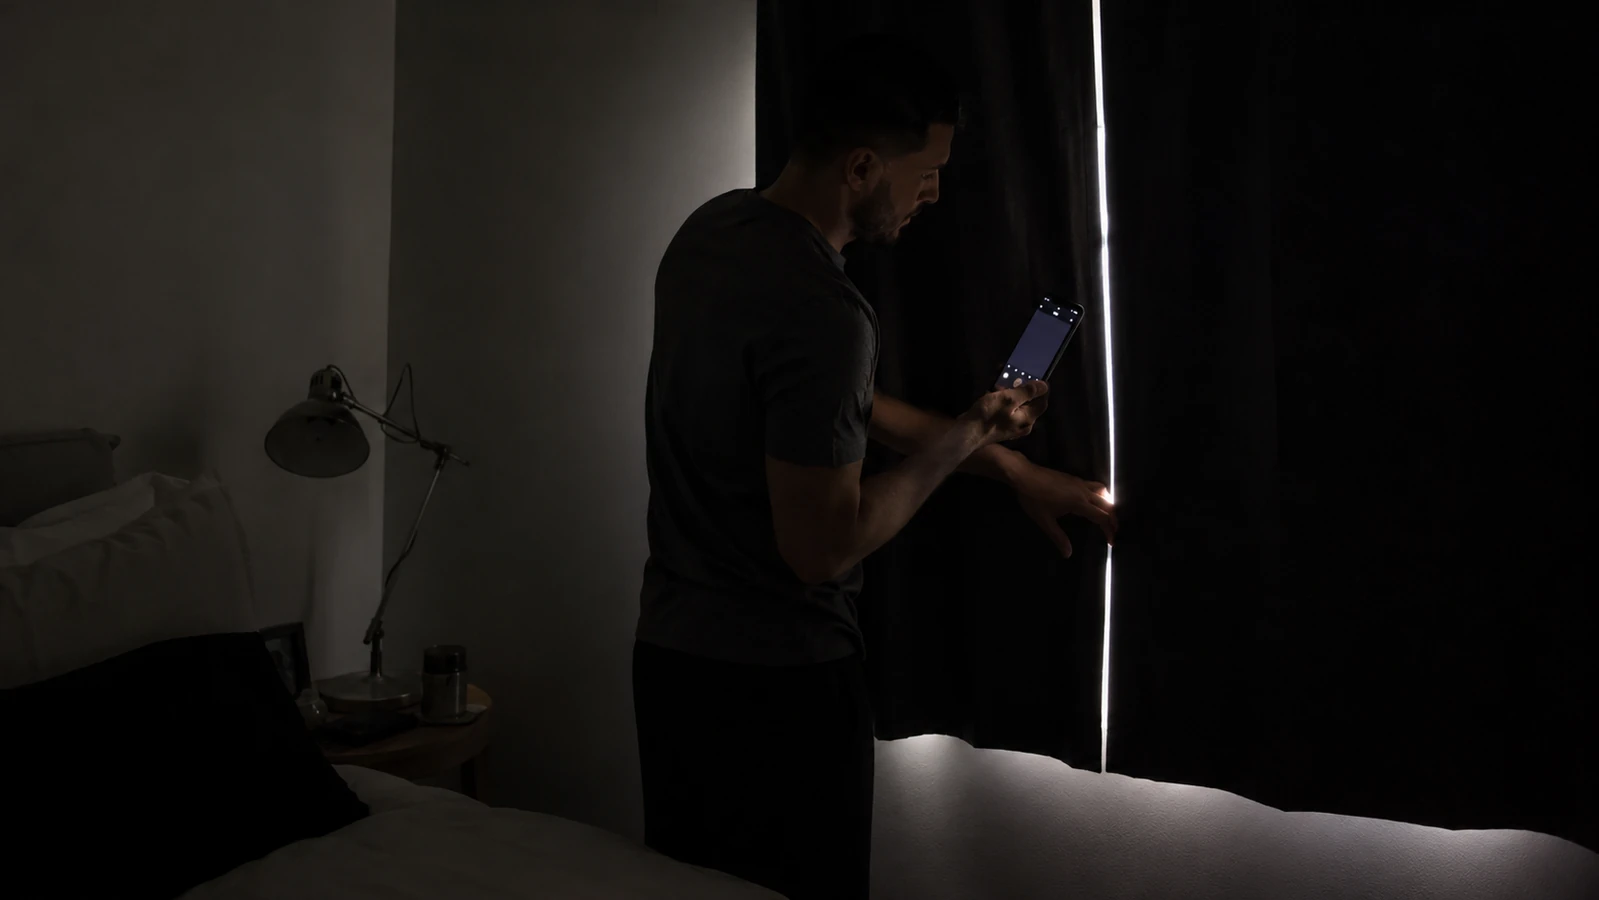
I keep my phone nearby specifically for this. A phone camera on night mode picks up a thin light leak far more clearly than your eyes do while standing in a dark room, especially once your eyes have adjusted and started compensating for the dim. Take a few photos of the existing setup, or of the bare window if you haven't hung anything yet, so you have something to compare against once the curtains are up.
Step 2: Measure the Window and Deliberately Oversize the Panels
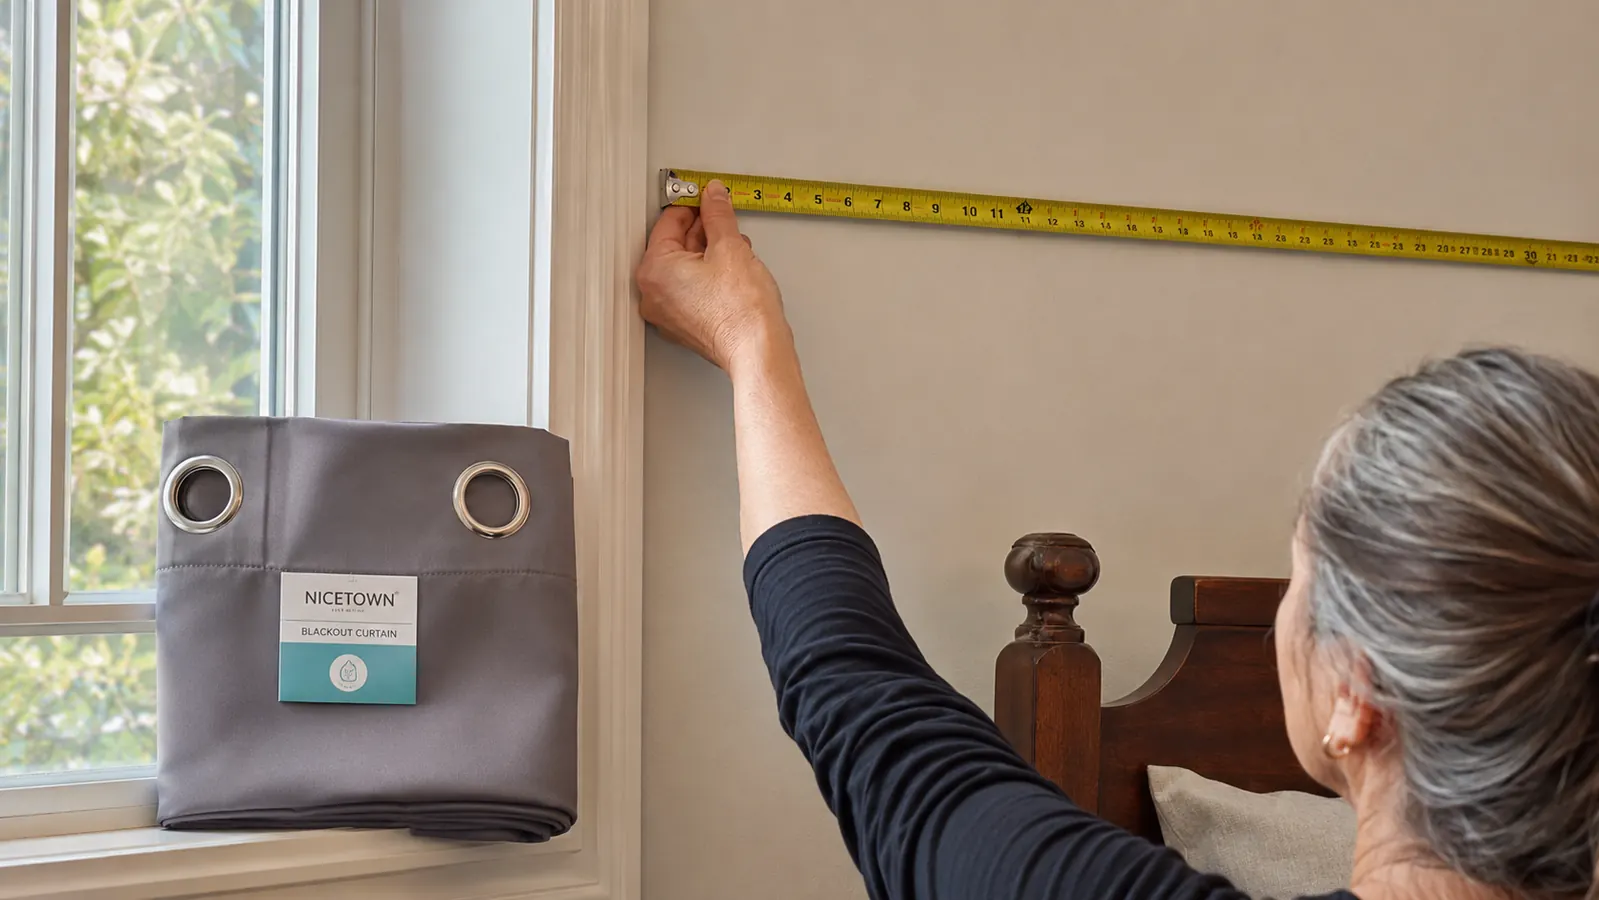
Measure the width of the window opening, then add to it. This is the step almost everyone skips, and it's the single biggest reason a blackout curtain disappoints someone. A panel sized to match the window closes right at the trim line with nothing to spare, and that's exactly where light finds its way through. I've written before about the sizing mistake almost everyone makes when they order their first set, and it comes down to this: buy panels wide enough, and long enough in the drop, that they can genuinely overlap the wall and the floor rather than just meet the edges.
On a standard bedroom window, I'd rather see two NICETOWN panels that each run wider than half the window than two panels that just barely meet in the middle with nothing held in reserve. For the drop, measure from where the rod will actually sit down to a few inches past the sill or the floor, and size the length to that, not to the window glass itself. A panel that's slightly too generous in both directions is a minor cost. A panel that's slightly too small undoes most of the work in this guide before you've even started.
Step 3: Choose the Rod Position Before You Hang Anything
Where the rod goes matters as much as the curtain itself. Mount it a few inches above the top of the window frame, closer to the ceiling if the wall allows it, so the fabric drapes down and covers more of the frame instead of starting right at the trim line. Then extend the rod brackets well past each side of the frame, six to ten inches is a reasonable starting point on a standard window, so the panels have somewhere to travel to when they're closed.
This one decision, height and width of the rod, does more for the finished result than almost anything else in this guide. A rod mounted flush to the frame gives the fabric nowhere to go but straight down against the glass. A rod mounted higher and wider gives the same curtain room to actually overlap the wall on both sides, which is where real darkness comes from.
Step 4: Hang the Panels With the Right Amount of Stack
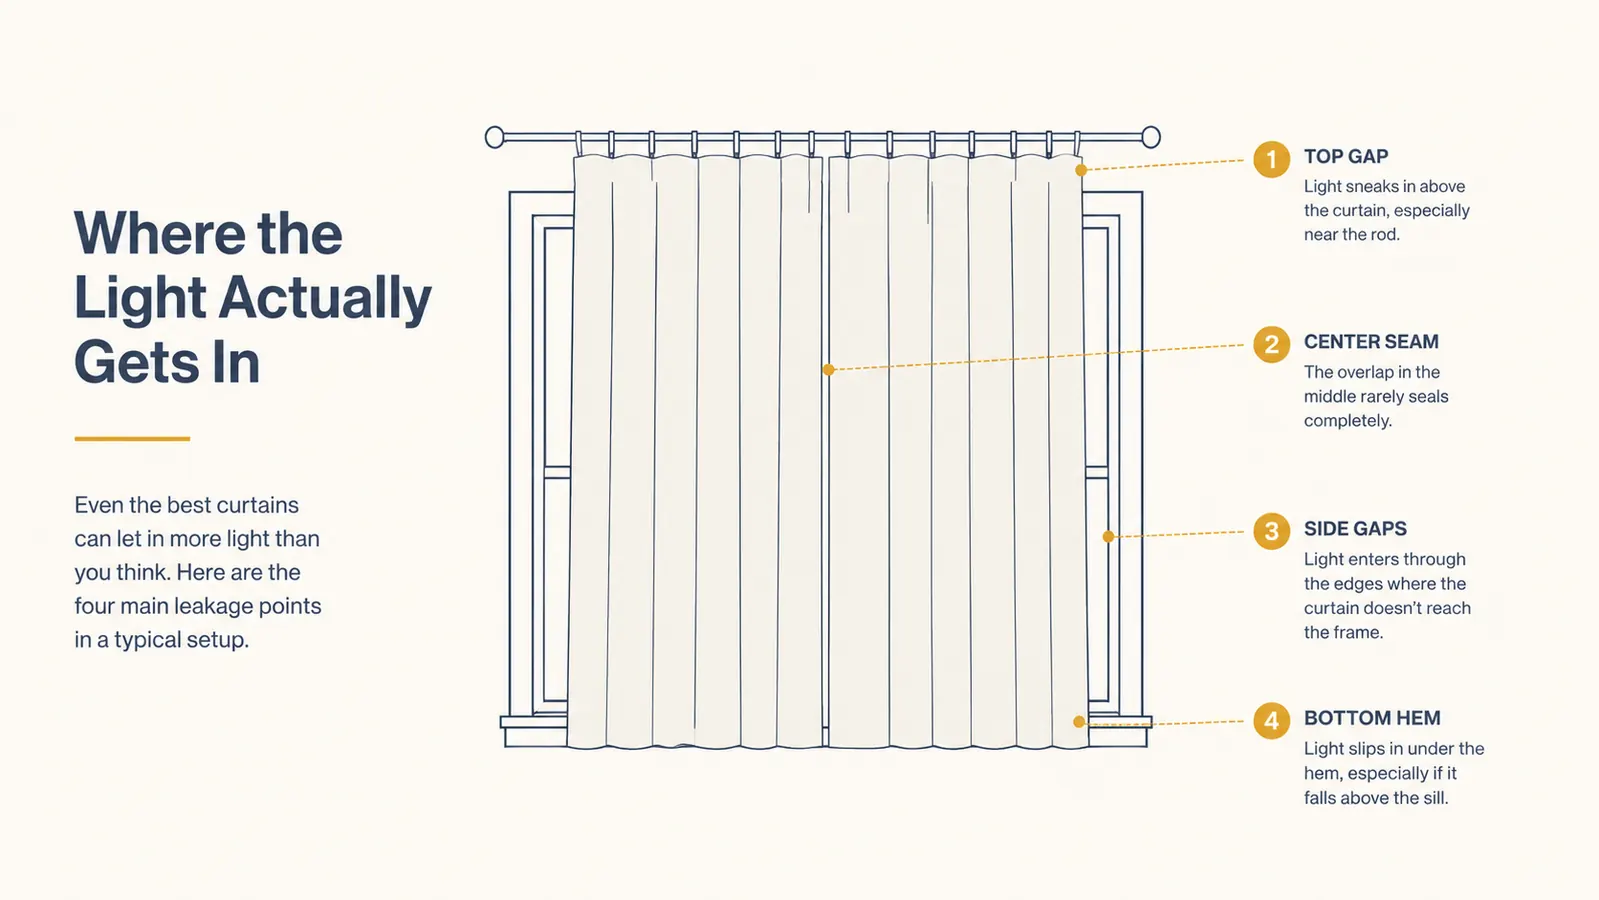
Once the rod is up, hang both panels and let them sit for a day or two before judging anything. Curtains arrive tightly folded, and that folding leaves creases that don't fall out in a few hours. A heavily creased panel doesn't sit flush against itself, and that changes how much light sneaks through the folds near the center seam in those first days. Steaming the panels or simply letting them hang loosely helps them relax into a fuller drape.
You want enough fabric that the closed panel has some fullness to it rather than pulling flat and taut across the window. A panel with a little extra width bunches slightly at the rod and hangs with soft folds, and those folds are actually useful, they give the fabric somewhere to give if the rod flexes or the wall isn't perfectly plumb.
Step 5: Close the Center Gap With a Real Overlap
Where the two panels meet in the middle is the single spot most people leave loosest, because it feels finished the moment the edges touch. Pull each panel past the center line instead, four to six inches of true overlap, so the seam is buried in fabric rather than sitting as a hairline where two edges happen to meet. A pair of curtain clips or small magnets at the top and midpoint of that overlap keeps it from drifting apart overnight.
This is worth checking again after the panels have hung for a week, because fabric settles and a seam that looked closed on day one can loosen slightly as the creases relax and the weight redistributes. A thirty second adjustment now and then keeps the overlap doing its job.
Step 6: Handle the Side Gaps With a Wrap-Around Rod or a Returns Bracket
Even with a wide rod, the very edge of the fabric can sit slightly away from the wall, leaving a narrow vertical strip where side light gets past the panel. A wrap-around curtain rod, sometimes sold as a C-channel or a rod with returns, bends the last few inches back toward the wall instead of stopping in open air, so the panel's edge tucks close to the surface rather than dangling in front of it. A simple L-shaped returns bracket at each end does roughly the same thing on a standard round rod.
If drilling isn't an option, a tension rod mounted a few inches deeper into the window recess, rather than fully outside it, can reduce the side gap too, though it comes with its own tradeoff. A thin tension rod tends to sag under the weight of two full length panels, especially over a wide span, and a sagging rod undoes a lot of the careful sizing work from the earlier steps. If you go this route, choose the sturdiest tension rod available, or move to a properly wall mounted bracket once you know the setup is one you'll keep.
Step 7: Deal With the Top Gap and Light Spilling Over the Rod
This is the gap almost nobody talks about, and it's usually the last one people find because it shows up as a soft wash across the ceiling rather than a direct beam. Grommet style panels, the kind with metal rings the rod passes through, sit a visible distance below the rod itself, and that strip between the top of the fabric and the ceiling is exactly where a streetlight or an early sunrise gets in first. Mounting the rod higher, as described in Step 3, shrinks this gap but rarely erases it completely on its own.
A simple valance mounted above the rod closes most of what's left, a strip of matching or coordinating fabric that hides the rod and the top of the panel from view and blocks the direct line of sight to the gap. For a more thorough fix, a ceiling mounted curtain track, rather than a wall mounted rod, moves the whole assembly up against the ceiling itself and removes most of the top gap by design. It's more installation than a rod and NICETOWN panels work fine on either setup, since the grommets are a standard size, but it's worth the extra step if that top glow is the one thing still bothering you after everything else is dialed in.
Step 8: Verify at the Actual Hour That Matters
Once everything is hung, sized, overlapped, and sealed at the edges, go back and repeat Step 1. Stand in the room in the dark, at the real hour you'll actually be trying to sleep, and look for any remaining glow along the top, the sides, or the floor. Don't judge the result in the evening if the room really needs to work at nine in the morning, the angle and intensity of outside light changes enough between those two times that an evening check can miss a genuine problem.
If a faint line is still showing up somewhere, it will almost always point back to one of the steps above, a rod that isn't quite wide enough, an overlap that's drifted apart, a returns bracket that's still on the shopping list. That's useful information, not a failure. Fixing one specific gap is a much smaller job than starting over with a different curtain.
What Else Helps
Even a correctly sized, correctly hung, correctly sealed set of NICETOWN panels has a small halo left over, and expecting total darkness from fabric alone, no matter how well installed, is where a lot of people end up disappointed. If the goal is a fully dark room with zero tolerance for any light, pairing the curtains with a snug sleep mask covers whatever thin gap remains without requiring a second round of hardware. For anyone still deciding whether the effort in this guide is worth it in the first place, it's worth reading through what a genuinely dark room actually changes about a night's sleep before you commit to a full afternoon of measuring and mounting.
A blackout curtain doesn't fail at the fabric. It fails at the gap you didn't know you'd left.
Get the setup right once, and you stop thinking about it.
Every step above assumes a curtain that's dense enough to matter in the first place. The NICETOWN thermal insulated panels are the pair I used to work through this whole process. Check today's price on Amazon before you start measuring your own window.
Amazon Check Today's Price on Amazon →